You want to turn your garage into a real living space. Not just a storage room with a couch, but an actual bedroom or office that’s legal and done right.
But here’s where most people stall out: the application process.
You start looking into permits and zoning laws and suddenly you’re drowning in municipal codes you can’t understand. So the project sits. And sits.
I’m going to walk you through the actual application process for garage transformation appcestate. What forms you need. What your city wants to see. How to avoid the mistakes that cost people months of delays.
We’ve researched how planning departments actually work and what makes them approve or reject applications. We’ve looked at the common reasons homeowners get stuck in permit limbo.
This isn’t about construction tips or design ideas. This is about getting your project approved.
You’ll learn what to prepare before you submit anything, what documentation matters, and what to expect once your application is in. No guessing about whether you have everything right.
The goal is simple: get you from idea to approved project without wasting time or money on rejections.
Phase 1: Pre-Application Due Diligence
You can’t just start tearing down drywall and calling it a day.
I learned this the hard way when I watched a neighbor spend $15,000 on their garage transformation appcestate project, only to find out their HOA banned conversions entirely. They had to rip everything out.
That cold feeling in your gut when you realize you’ve wasted months? You can avoid it.
Before you fill out a single permit form, you need to do your homework. I’m talking about the kind of research that feels boring but saves you from disaster.
Check Local Zoning Ordinances
Start with your city’s planning department website. Look for ADU regulations or garage conversion rules. Most cities have these documents online now, though some still make you dig through PDF files that look like they were scanned in 1997.
Pay attention to setback requirements. That’s the distance your structure needs to be from property lines. Also watch for parking mandates. Some cities require you to replace any parking spots you convert.
When you’re flipping through these documents, the paper feels thin and official. The language is dense. But you’re looking for specific numbers and restrictions that apply to your lot.
Review HOA Rules & Covenants
Your HOA might say no even when the city says yes.
I’ve seen associations block projects because of exterior appearance standards or blanket bans on rental units. Request a copy of your CC&Rs (those are your covenants, conditions, and restrictions). Then submit a written request for architectural approval before you spend a dime.
Some boards meet monthly. Others quarterly. Factor that wait time into your timeline.
Initial Feasibility Assessment
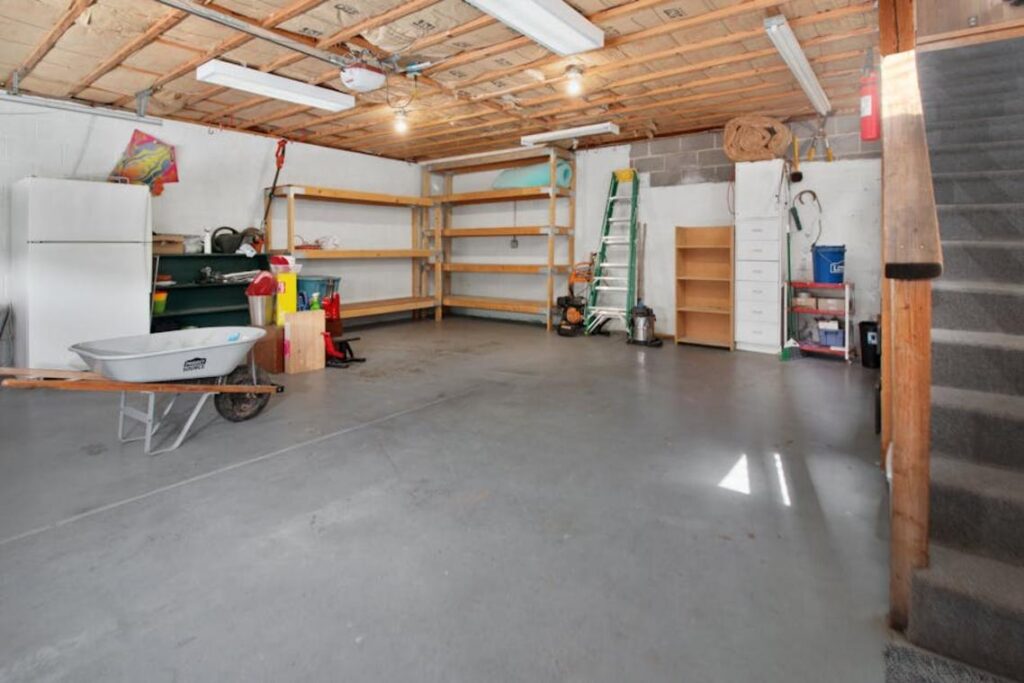
Walk into your garage and really look at it. Run your hand along the foundation walls. Are there cracks? Does the concrete feel solid or does it crumble when you press hard?
Check the ceiling height with a tape measure. You need at least 7 feet for habitable space in most jurisdictions. Some garages have low ceilings that make conversion impossible without major foundation work.
Look at the floor. Is it sloped for drainage? You’ll need to level that. Notice how cold it feels in winter? That tells you about insulation needs.
This garage transformation appcestate process starts with honest assessment, not optimism.
Phase 2: Assembling Your Application Package
This is where most people either nail it or waste weeks going back and forth with the permit office.
I’m going to walk you through every document you need. Not just what to include, but why it matters and how it saves you time.
The Building Permit Application Form
The form itself looks intimidating at first.
But it’s really just asking for basic information in a specific order. You’ll need owner details, contractor information, a clear project scope, and your estimated cost. (And yes, they actually check that cost estimate against comparable projects.)
Here’s what this gets you. A complete form means your application doesn’t sit in a pile waiting for someone to call you about missing information. You move to the front of the review queue.
Some people argue you can ballpark these numbers and fix them later. That’s a mistake. Inaccurate information triggers red flags and slows everything down.
Detailed Architectural Plans
You need professional scaled drawings.
Not sketches. Not something you drew in a design app. Actual architectural plans.
These plans must show:
- Floor plans with precise measurements
- Elevations from all sides
- Electrical layouts showing every outlet and fixture
- Plumbing layouts with pipe sizes and locations
- Window and door placements for proper egress
- Insulation details and R-values
Why does this matter? Because inspectors use these plans in the field. If your drawings don’t match reality or miss critical details, you fail inspection. Then you’re paying your contractor to sit around while you fix the paperwork.
I’ve seen garage transformation appcestate projects delayed by months because someone tried to save a few hundred bucks on plans.
Structural Plans & Engineering Reports
You might need a structural engineer’s stamp.
When? Anytime you’re touching load-bearing walls, modifying the foundation, or adding significant weight to the structure. The permit office will tell you if it’s required, but honestly, if you’re not sure, get the engineer involved early.
The benefit here is protection. An engineer’s report proves your project won’t compromise the building’s integrity. That’s not just about passing inspection. It’s about liability if something goes wrong years later.
Supporting Documentation Checklist
Here’s what else you might need:
- Site plan showing property lines and setbacks
- Energy compliance forms like Title 24 in California
- Soil reports for foundation work
- HOA approval letters if applicable
- Contractor license verification
Each document serves a purpose. The site plan confirms you’re not building too close to property lines. Energy forms prove you meet current codes. Soil reports show the ground can support what you’re building.
Get these together now. Don’t wait for the permit office to ask.
Phase 3: The Submission and Review Process
You’ve done the hard work.
Your plans are complete. Your documents are organized. Now comes the part that makes most people nervous.
Submitting everything and waiting.
Here’s my take. This phase isn’t as scary as people make it out to be. But you do need to know what you’re walking into.
Submitting to the Correct Department
First things first. You need to get your package to the right people.
Most cities let you submit digitally now. Some still want physical copies. (Yes, really. Even in 2024.)
Call your local building and safety department before you do anything. Ask them what they prefer. Don’t assume your city has caught up with technology just because the one next door has.
I’ve seen people waste weeks because they submitted the wrong way.
The Plan Check Stage
Once your application lands on someone’s desk, a plan checker takes over.
This person’s job? Make sure your garage transformation appcestate project follows every building code and zoning law on the books.
They’re not trying to make your life difficult. They’re making sure your project is safe and legal.
The timeline varies wildly. Some departments finish in two weeks. Others take two months. It depends on how backed up they are and how complex your project is.
Responding to Corrections
Here’s what nobody tells you upfront.
You’ll probably get corrections. Most applications do on the first pass.
The department will send you a list of things that need fixing. Maybe a measurement is off. Maybe they need more detail on your electrical plan. Maybe something doesn’t match current code.
Don’t panic when this happens.
Get the list to your architect or contractor right away. Work through each item methodically. Make the changes. Resubmit.
The appcestate property guide by activepropertycare breaks down common correction requests if you want to see what typically comes up.
My advice? Treat corrections as part of the process, not a setback. Because that’s exactly what they are.
Phase 4: Post-Approval – Inspections and Final Sign-Off
You got your permit.
Now the real work starts.
But here’s what catches most people off guard. Getting approval doesn’t mean you’re done with the city. Not even close.
You’ll need inspections at EVERY major construction milestone. Foundation work? Inspector shows up. Framing complete? Another visit. Electrical and plumbing rough-in? Yep, they’re coming back.
Skip one of these scheduled inspections and your whole garage transformation appcestate project grinds to a halt.
The inspection schedule isn’t random either. Each visit happens at a specific point when the work is visible but not yet covered up. That’s why timing matters. You can’t frame over electrical work before the inspector signs off on it.
Most jurisdictions require at least four inspections (though some want more). Your contractor should know the sequence, but double check your permit paperwork. It’ll list exactly when you need to call for each one.
The Certificate of Occupancy
This is the finish line.
A Certificate of Occupancy is the legal document that says your new space meets building codes and is safe to use. Without it, that garage conversion isn’t technically habitable.
Think of it as your project’s birth certificate. The city won’t consider the work complete until you have it in hand.
Getting one requires passing that final inspection. The inspector walks through, checks everything against the approved plans, and either signs off or gives you a punch list of fixes.
For more guidance on managing construction projects, check out these property tips appcestate.
Once you get that certificate? You’re officially done with the legal side.
From Application to Approved: Your Path Forward
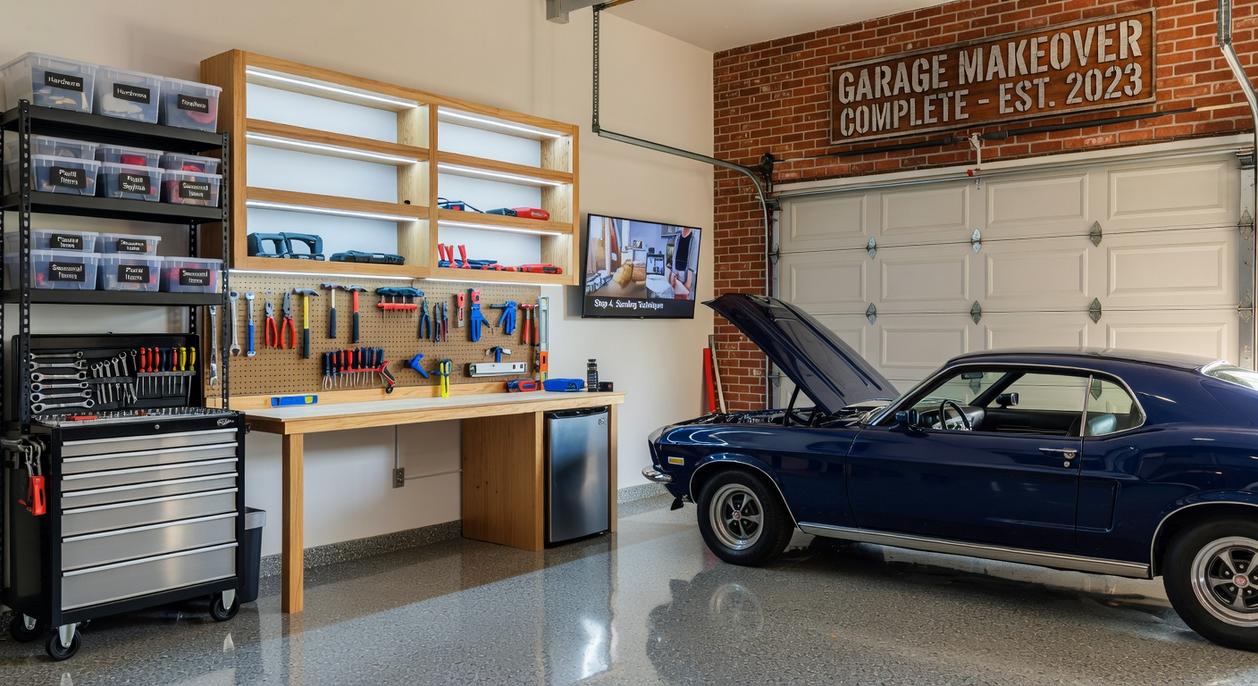
You wanted to know how to turn your garage into living space without getting lost in red tape.
Now you have it. A four-phase framework that takes you from research to final inspection.
The paperwork feels overwhelming at first. I get it. But it’s manageable when you break it down into clear steps.
This structured approach removes the guesswork. You’ll know exactly what to do and when to do it. That means fewer delays and no expensive mistakes that come from missing a permit or skipping an inspection.
Here’s your next move: Start Phase 1 today.
Research your local zoning laws. Check if your garage qualifies for conversion. Look at setback requirements and building codes in your area.
This groundwork sets up everything that follows. Skip it and you’ll hit roadblocks later.
garage transformation appcestate gives you the tools to move through each phase with confidence. You’re not guessing anymore. You’re following a proven path that works.
Your garage can become valuable living space. The application process is just the first step on that path.
 Kamil Sowaak is the Founder of